Below are some (but not necessarily ALL) of the equipment,
materials and supplies you should consider before hiking cross-country to an
abandoned pioneer cemetery to do restoration work.
Of course, the
materials you will need will vary with every project, but this checklists should
help you make better use of your on-site time by making you think beforehand of
things you should consider taking along. Like this Zag Mobile Tuffmate.
Some of us find big plastic storage tubs an excellent
way to organize these supplies so they aren't always rolling around loose in the
back of our cars.
*** A note of caution, don't leave epoxies in a hot car. Set the
chemicals outside before you go hiking. ***
Also a point of reality. Websites change their
web addresses, my appoligies if the links are bad. I try to update at
least once a year.
If you need to review the steps again... click
here
Most of us or our parents have tools in our garages that
can help start us out with cleaning up the cemetery yard. Take the time to
really evaluate each step. Safety should be your first priority.
Safety Equipment , pack these first.
- Gloves (leather work gloves, jersey work gloves and rubber gloves)
- Cellular phone (sooner or later someone will fall over a tombstone or
footstone)
- Drinking water
Sunscreen and hats
- Boots
Bee and wasp spray
- Long-sleeved shirt
Safety goggles (if using equipment)
- Insect repellant
First Aid kit
- Antibacterial liquid soap and/or waterless instant hand sanitizer (such
as Purell)
- Protective hand lotion (such as "Gloves
in a Bottle" or Ivy Block
(poison
ivy, oak and sumac protection)
- Snakebite kit (available from sporting goods stores that carry camping
and hiking goods)
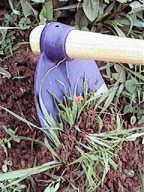
Site Cleaning equipment:
Rakes, Shovels and spades,
Trowels, Clam-shell
post hole digger Grubbing
hoe Machete, Chain saw, Weed eaters,
Wheelbarrow, Pruning shears
Probes (i.e., "T-style
probe" sold by Amazon or
your local plumbing supply dealer or Hardware store. Ask for Tile probes.
To record the position
for your County and the DHPA's
Cemetery and Burial Ground Registry. You need a hand held GPS device.
Please share your findings with the Area Plan Commission in your County and
preserve it in your County Historical Society or Public library. Also now
online to Findagrave.com or BillionsGraves.
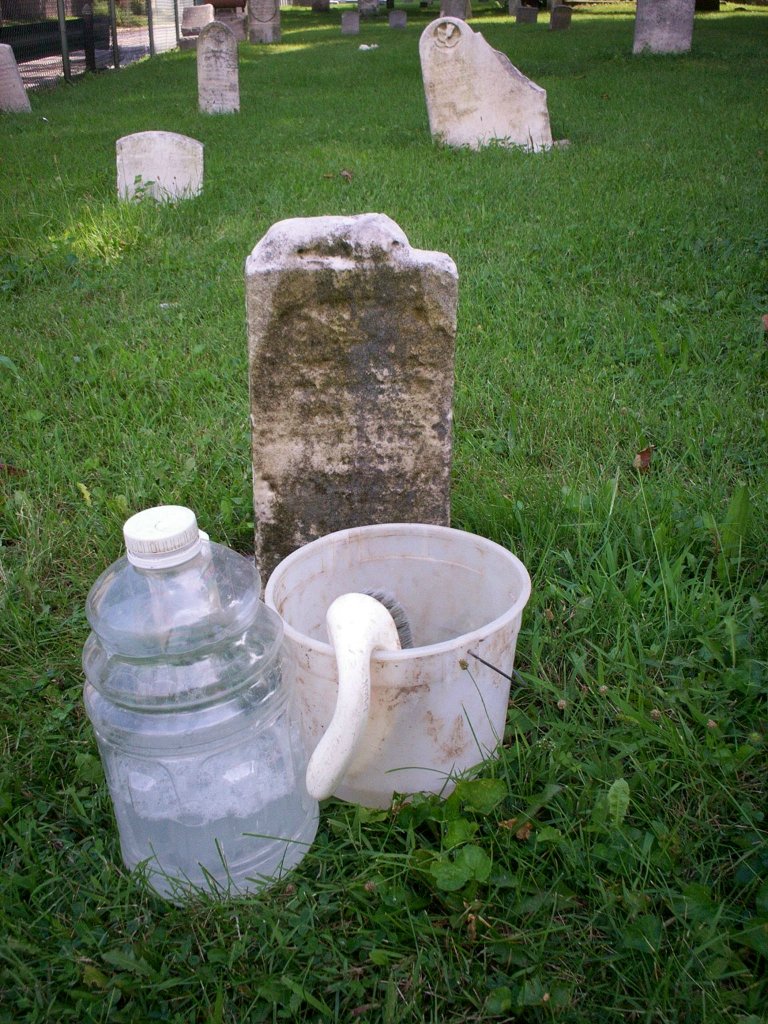
Stone Cleaning supplies
A note of caution, their are many new
products out on the market for stone cleaning. Please understand you are
working with historic family monuments, mostly over 160 years ago. The
first four cleaners below have been proven safe and are recommended. Who
can really say what these new cleaners will do to the surfaces? As my
mother told me, "don't do anything you can't live with later" .
Please don't make the surface worse. If all you can do is get it wet
and photograph, then just do that.
-
Lots and lots of water, always
start with water and finish with clean rinsing.
Soft-bristled plastic, nylon or natural bristle brushes
only. Preferably
white brushes.
-
Also you might try
1 part Ammonia and 5 parts
water. Be sure to rinse the stones well with clean water
in the beginning and at the end. Start at the bottom and work upwards to prevent
staining. This works fairly well on most surfaces. It will
remove most of the black leichen if your patient. Be sure to check the
surface first. Don't destroy what is left.
-
Orvus
soap
by Proctor & Gamble (available at farm and
animal supply stores; 1/4 cup to 1 gallon water for cleaning) Wash
stone with Orvus and water, using a soft-bristled brush; rinse thoroughly
-
Kodak
Photo-Flo
(1/4
oz. to 5 quarts of water; used for initial cleaning) [wash
stone with Photo-Flo and water, using a soft-bristled brush; rinse thoroughly]
-
ReVive -
biological growth cleaner. Simply dilute with clean water as
directed, and apply BioWash® to the surface. A short contact time,
gentle scrubbing and a water rinse are normally enough to remove
light-to-moderate soiling and staining typically encountered on building
surfaces and monuments. Can
sometimes be found at paint stores.
-
D/2
biological growth cleaner
Stone Repairing
supplies
THESE PRODUCTS ARE ALWAYS CHANGING AND
NEW ITEMS ARE COMING AVAILABLE. bELOW ARE A FEW THAT HAVE BEEN USED AT
WORKSHOPS.
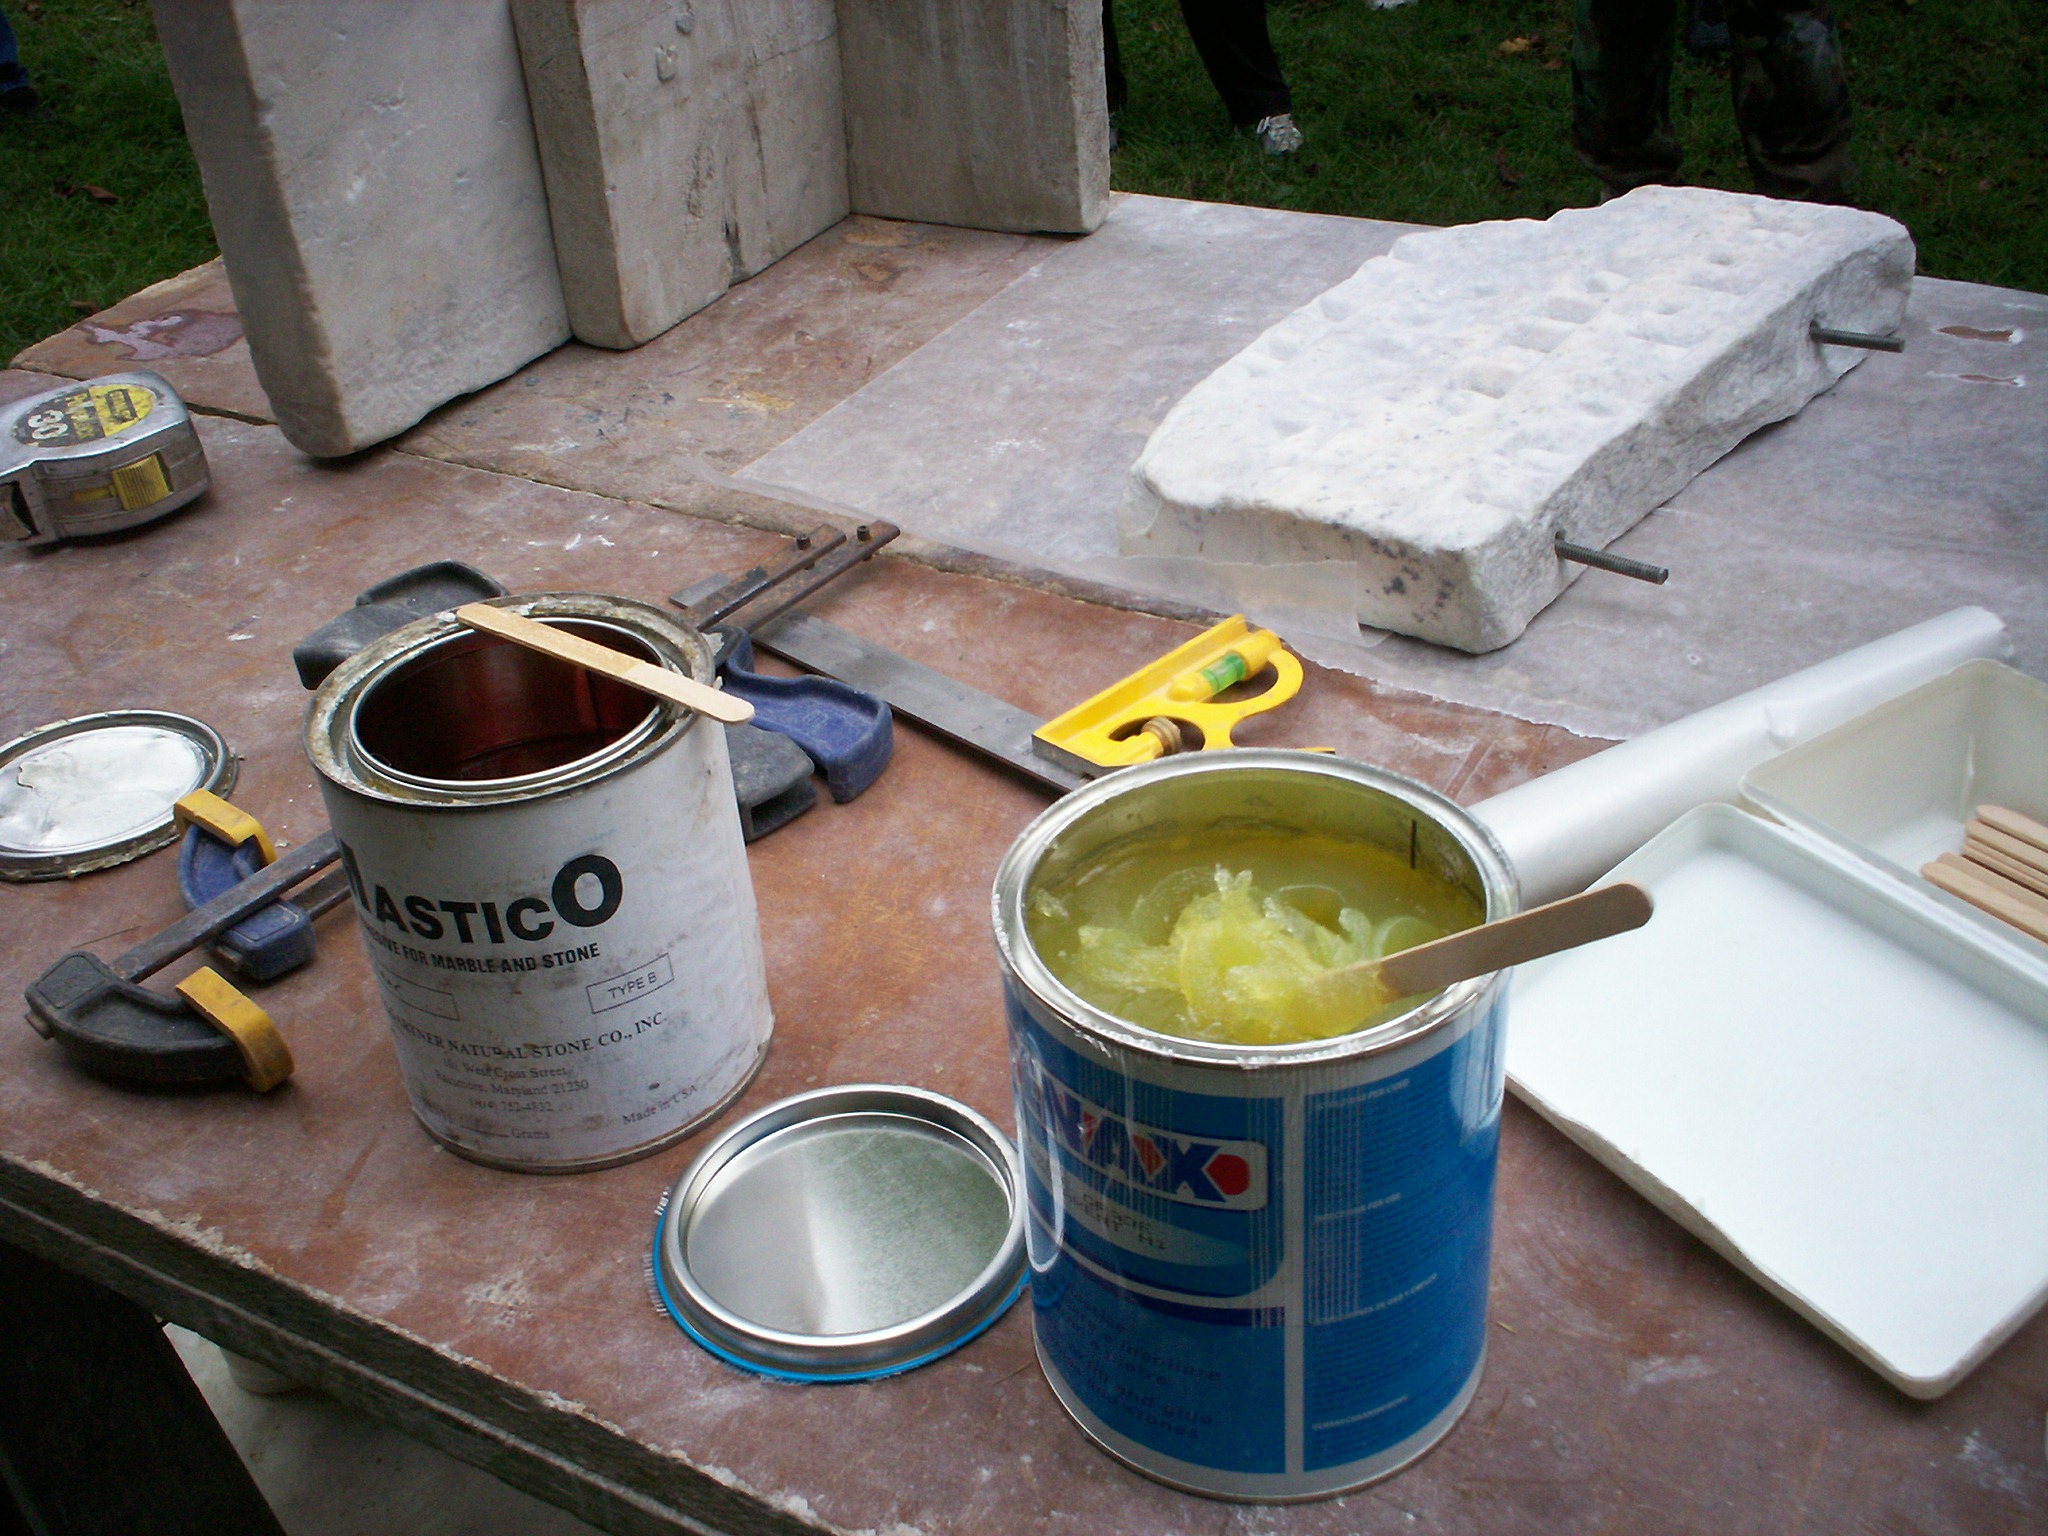
Epoxies Used:
Photo
of Tenex & Mastico
-
TENEX
from Bicknell Supply Company. 1-800-241-7105
-
Mastico.
Clear epoxy with hardener is available from Hilgartner Natural Stone Company, 101 W Cross Street,
Baltimore, Maryland 21230. 410-752-4832 I always call.
-
Akepox 2010 Epoxy
Transp L-Spec (Honey) - 2.25 Kg. Most
economical option. Available from your local monument dealer or from GranQuartz,
PO Box 33569, Decatur, Georgia 30033; 800-458-6222. You can download their
catalog.
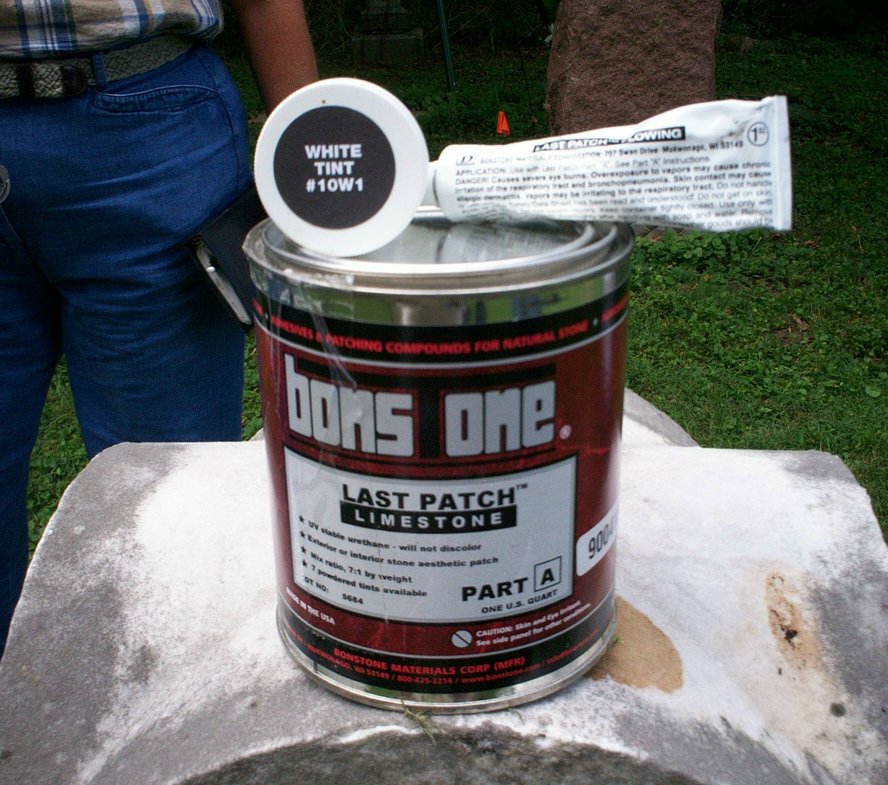
-
Last Patch, from
Bonstone Good for
areas where you need to secure the edges together, or build a corner with
something more durable. See photo.

-
Barre Pak Epoxy - 70
gram Kit (in Gray) More expensive, but handy
for smaller repairs; dual barrels of epoxy and hardener. Available from Miles
Supply Company Inc., PO Box 237, Barre, VT 05641-0237; 802-476-3963
Bonding of stones back together has
a lot to do with the condition of the break. A stone broken many years ago
weathers, leaving you with very little contact points. This may require a
knife-grade epoxy. Where as an Epoxy such as Mastico, is thin flowing and best used when plenty of
stone to stone contact is there. I use several types epoxy, depending on the
stones need. The Barre Pak bonds well, yet it is gray in color and thick in content.
Better used when the break would be below ground. GranQuartz has some excellent epoxies. Order catalogs from
BICKNELL, Miles
Supply or any other company that deals with stone products. (11-14-2005)
WALT
More supplies to think about:
-
Denatured alcohol and acetone (for cleaning
the broken surfaces; use rubber gloves)
-
Clean rags (for applying acetone
& denatured alcohol) old white cotton T-shirts {washed WITHOUT fabric
softener} WITHOUT fabric
softener}
-
Old Tupperware or margarine containers (for
mixing and holding epoxy and mortar)
-
Tongue depressors, wooden paint stirrers or
"popsicle sticks" (for mixing and spreading epoxy; available from
craft stores)
-
Duct tape (for masking surfaces when
applying epoxy or mortar)
-
Clamps, Carpenter's
Level , Portable workbench (i.e., Black
& Decker Workmate , Portable drill and bits , Generator (to
power the drill), Turkey baster (for blowing dust and loose dirt
out of the pin holes), Fiberglass or nylon pins (used to stabilize the
stone while the epoxy cures; you'll need drill bits to match; do NOT use metal
pins), Scrap lumber (for bracing repaired stones), Compressed
air (used for cleaning computer keyboards, etc.; useful in removing
dust and tiny debris before applying epoxy to a stone's broken surface)
-
Setting
Compounds
&
Setting Cushions
used under corners under the edges of stacking layers.
Miles
Supply Company
Resetting Stones
- Shovels and spades
Tamper or old wooden ball bat
- Garden trowel
Tape measure
- Carpenter's Level
Wheelbarrow
- Mason's trowels
Mixing box or hard plastic tubs
- Scrap lumber (2x4s and scraps of plywood; for bracing reset stones)
- Sand (regular not silicone)
White Portland cement
- Hydrated lime
Pea gravel
- Sand and pea gravel (Mix 1 part sand to 1 part pea gravel for under
stones and bases.)
- Hoist Using a Hoist
MORTAR
MIXES USED
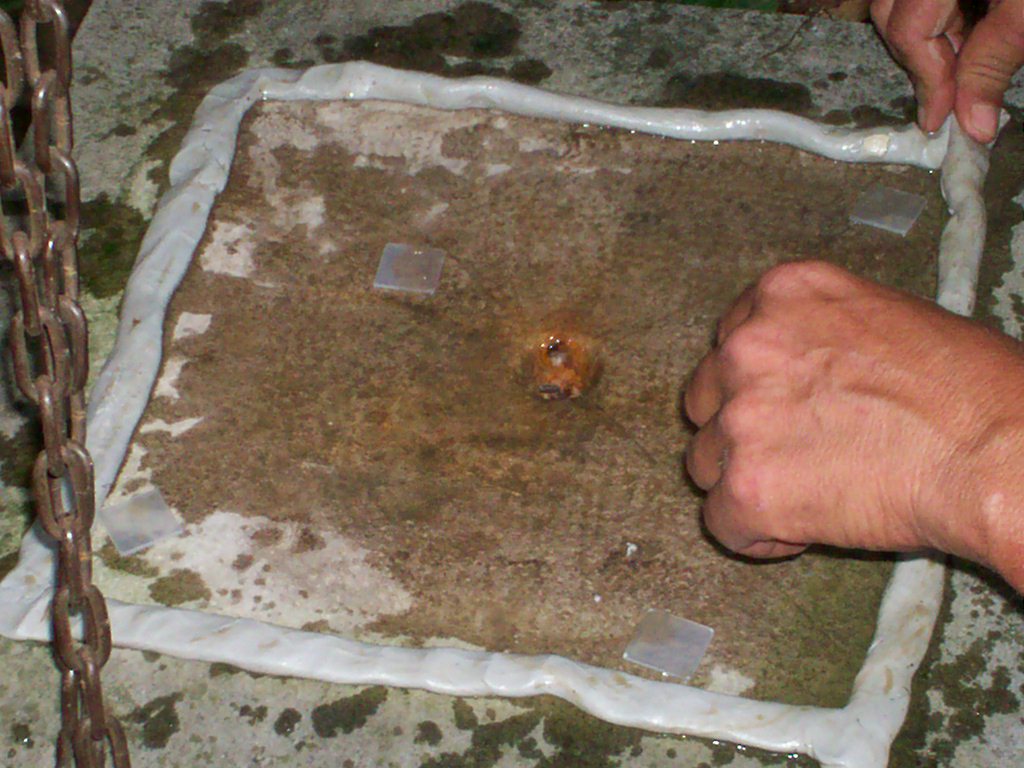
Reinserting Stones into
intact bases (click
for more photos showing the process)
|

|
MIX USED FOR SLOTS;
1 part Portland cement
4 parts hydrated lime
8 parts clean sand
Water (used sparingly; mixture should be very stiff and almost
"dry")
After inserting stone into wet mortar, prop it with cut 2-x 4's until
mortar is dry. Be sure to clean off any excess mortar before it dries.
Taping also help keep a clean surface. Remove tape after mortar is
dry.
|
 |
 |
|
